Easy Origami Paper Crafts for Kids: Step-by-Step
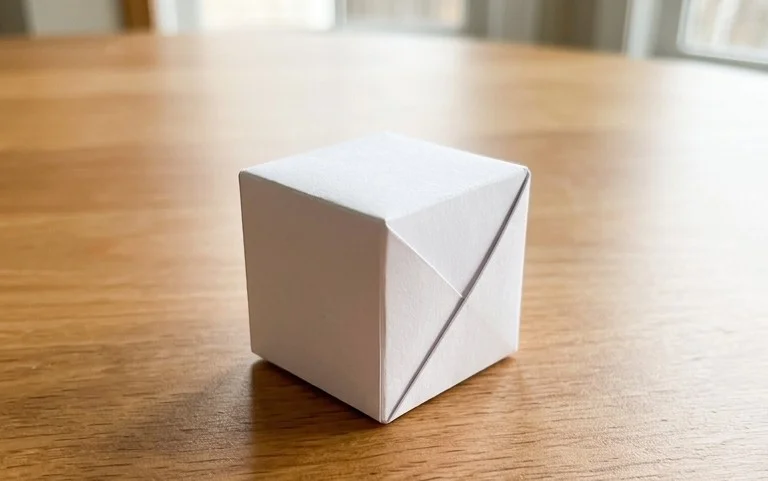
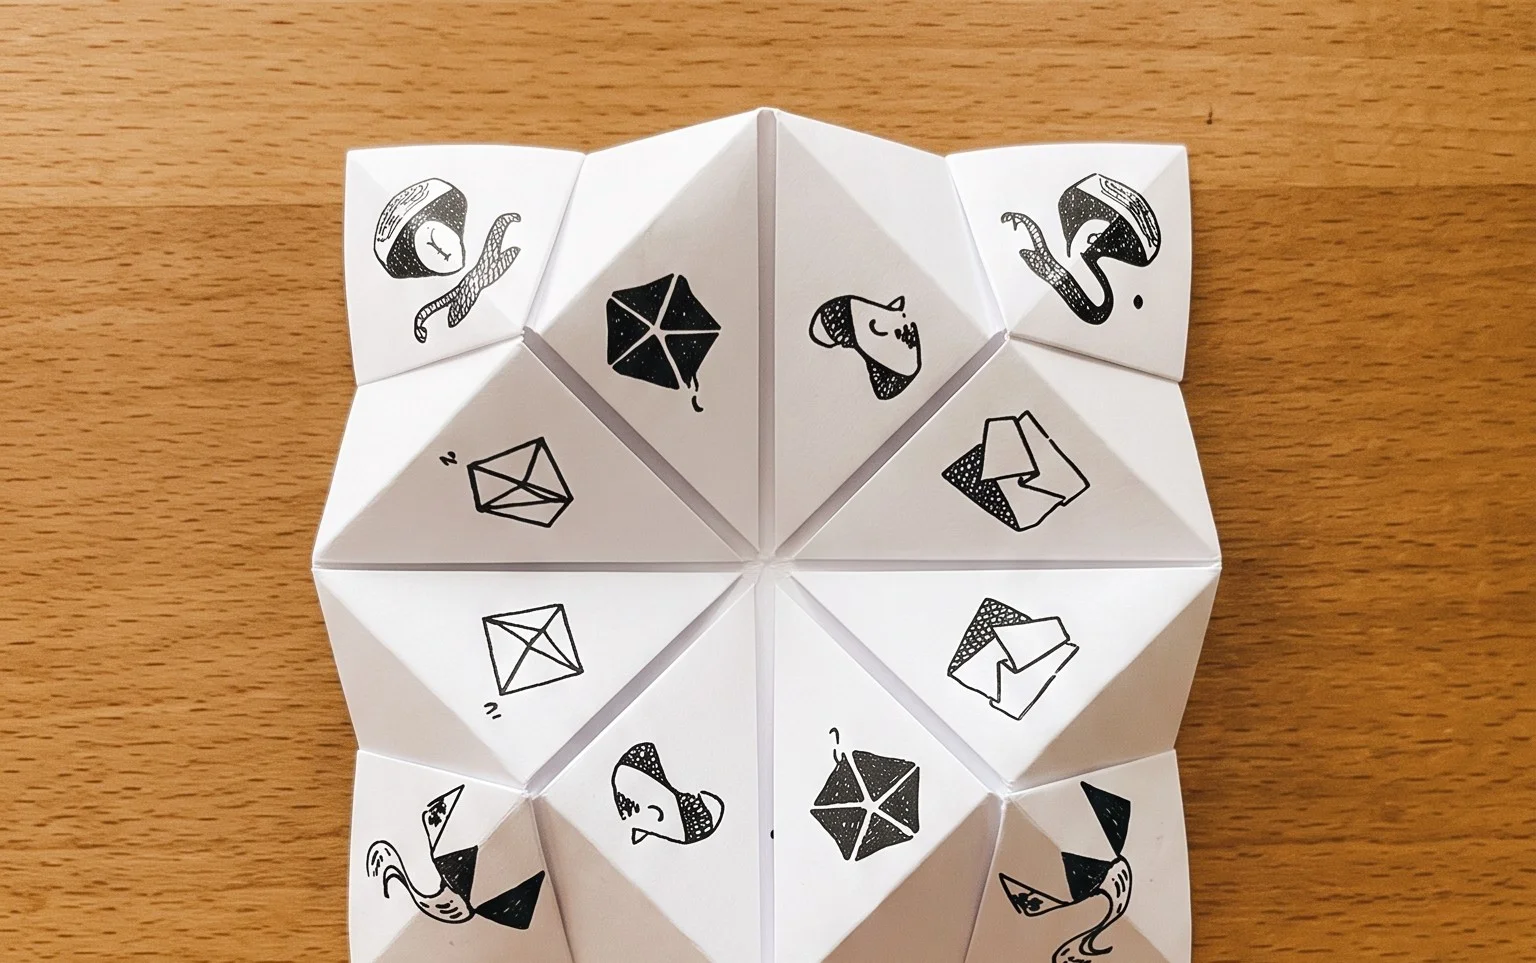
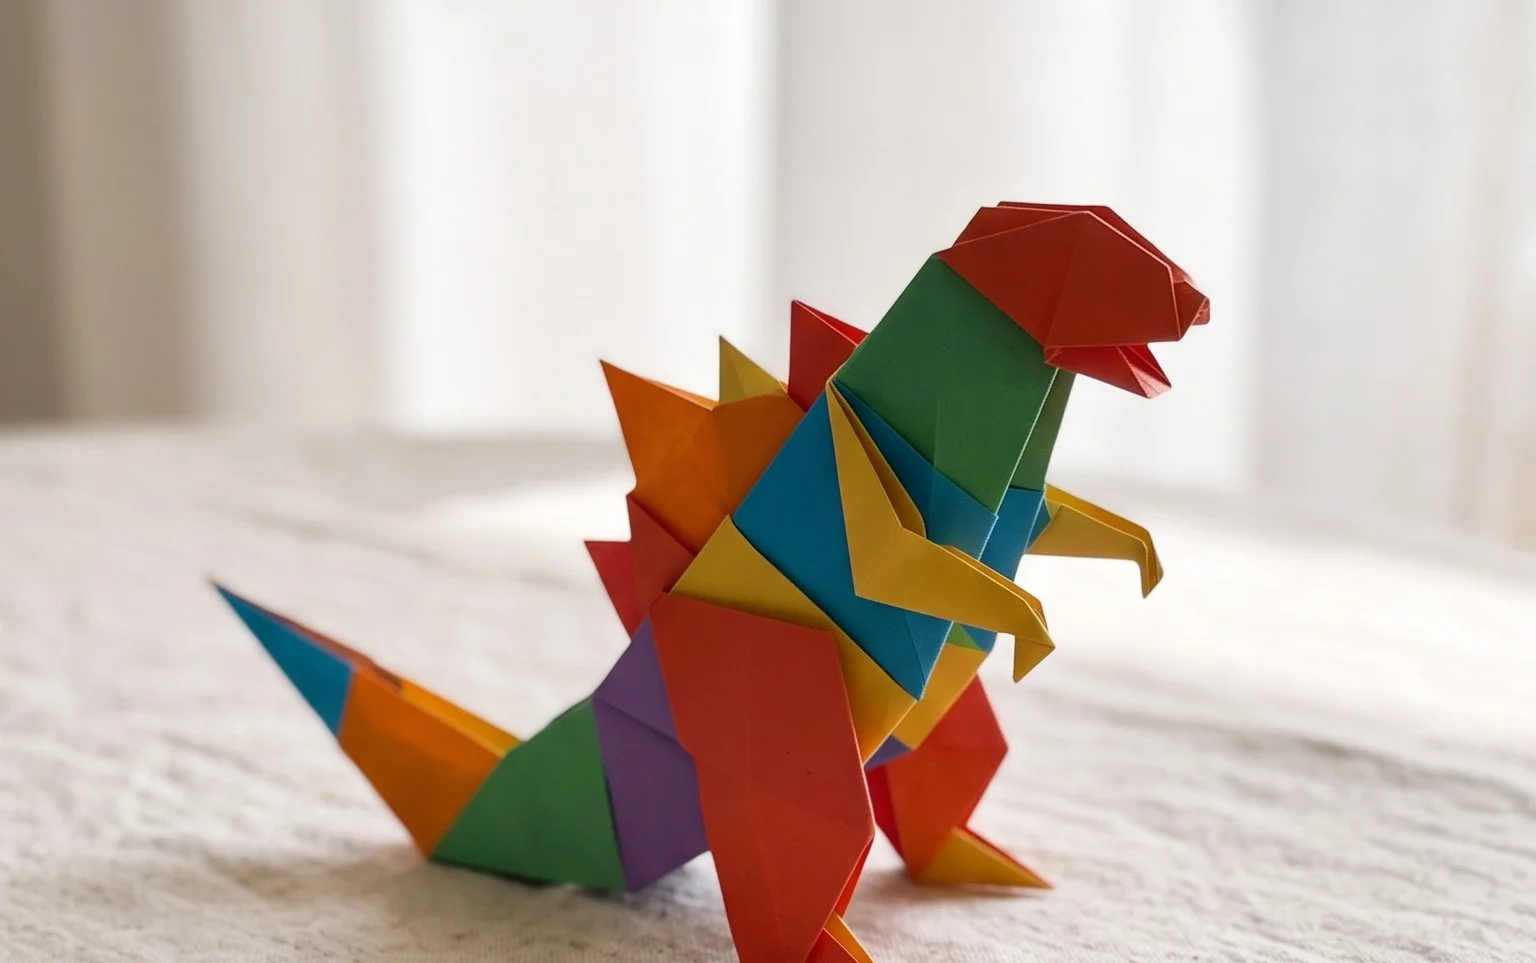
Origami Paper Characters & Crafts for Kids are a fantastic way to spark creativity and bring adorable little figures to life! At Crafts Hive, we’re so excited to guide you through making your very own charming origami creations. Imagine tiny folded animals with perky ears, cute little boxes perfect for treasures, or even a sweet little paper doll ready for adventure. This tutorial is absolutely perfect for complete beginners and crafty kids, taking about 15-30 minutes per model depending on complexity. You’ll learn the fundamental origami folds, how to follow simple diagrams, and develop the patience and dexterity that comes with every fold. Get ready to have some serious fun, get your hands busy, and create something truly special!
Origami Paper Characters & Crafts for Kids : Crafts Hive
Hello there! Welcome to Crafts Hive, where we’re about to embark on a wonderfully creative journey into the world of origami paper characters and crafts. Origami is a fantastic art form that uses simple folds to transform a flat piece of paper into a charming three-dimensional object. It’s perfect for little hands to learn fine motor skills, develop patience, and experience the magic of creating something from nothing. Today, we’re going to focus on making some delightful origami characters that your kids will love to fold and play with.
Choosing the Right Paper for Your Origami Adventure
The paper you choose can really make a difference in your origami experience, especially for beginners. Let’s break down what works best.
Type of Paper
For most origami, especially when you’re starting out and making characters, standard origami paper is your best friend. It’s specifically designed to hold crisp folds and is usually quite thin, which makes it easy to fold multiple layers without becoming too bulky. You can find it in craft stores and online. If you don’t have dedicated origami paper, printer paper can work in a pinch, but it’s a bit thicker and can make the final model feel a little stiff. Avoid cardstock or construction paper as they are too thick and difficult to fold precisely for origami.
Weight
Origami paper typically has a weight around 60-80 gsm (grams per square meter). This is light enough for easy folding but strong enough to hold its shape. Printer paper is usually around 70-80 gsm, so that’s why it’s a viable, though not ideal, alternative.
Size
For kids, I usually recommend starting with a square of paper that’s about 6 inches (15 cm) per side. This size is big enough to handle easily, allowing little fingers to grip and make precise folds, but not so large that it becomes overwhelming. Larger sizes, like 8 inches (20 cm), are also great for practicing. As you get more comfortable, you can certainly experiment with smaller sizes.
Single or Double-Sided
Origami paper often comes in a variety of colors, and you can find it either single-sided (one side colored, the other white) or double-sided (both sides colored, often in different colors). For characters, double-sided paper can be fantastic because it adds visual interest to your creation. For example, a frog might have a green body and a lighter green or white belly. However, single-sided paper is perfectly fine and often more readily available. The white side can even be used for drawing on features once your origami character is complete!
The Foundation: Essential Base Folds
Before we jump into our characters, understanding a few fundamental folds is crucial. These are the building blocks of almost all origami. Making these folds cleanly is key to a neat and successful final model.
The first important fold is the diagonal fold. Take your square piece of paper and place it in front of you like a diamond, with one corner pointing towards you. Now, take the bottom corner and bring it all the way up to meet the top corner exactly. As you do this, run your finger firmly along the edge where the two corners meet. This creates a crisp crease. Unfold the paper, and you’ll have a diagonal crease running from one corner to the opposite. Repeat this process by taking the left corner and bringing it to meet the right corner exactly. Again, press down firmly to create a sharp crease. Unfold. You should now have an ‘X’ shaped crease pattern on your paper.
Another essential fold is the horizontal or vertical fold, depending on how you orient your paper. Place your square of paper in front of you like a regular square, with a side parallel to the bottom edge. Now, take the bottom edge and bring it up to meet the top edge exactly. Align the corners and the edges, and then run your finger along the folded edge to create a firm crease. Unfold. Now, rotate your paper 90 degrees. Take the left edge and bring it to meet the right edge exactly. Align the corners and edges and crease firmly. Unfold. Now you have a grid of creases.
Making these folds cleanly means being precise. Don’t just fold the paper loosely. Line up the corners and edges perfectly before you crease. Then, use your fingernail or a bone folder (if you have one) to run along the fold, pressing down firmly. This creates sharp, defined creases that will make subsequent folds much easier and the final model look much neater.
Let’s Fold! A Simple Origami Cat (Step-by-Step)
Now, for the fun part! Let’s create a super simple origami cat, a perfect character for beginners.
Start with your square piece of paper. For this model, let’s assume the colored side is facing up if you’re using single-sided paper.
1. Place the paper in front of you like a diamond, with a corner pointing towards you. Take the bottom corner and fold it up to meet the top corner precisely. Run your finger along the folded edge to make a crisp crease. You should now have a triangle.
2. Orient the triangle so the long, folded edge is at the top and the single point is at the bottom.
3. Now, we’re going to make the cat’s ears. Take the right corner of the triangle and fold it downwards and slightly outwards. The exact angle isn’t super critical for a beginner cat, but aim for it to angle away from the center, creating a pointy ear shape. Crease firmly.
4. Repeat step 3 with the left corner of the triangle. Fold it downwards and slightly outwards, mirroring the first ear you made. Crease firmly. You should now see two pointy shapes at the top, which will become your cat’s ears.
5. Flip the entire model over so you are looking at the smooth, unfolded side.
6. Now, we’re going to create the cat’s face. Take the bottom point of the triangle (the one that’s pointing downwards) and fold it upwards, just a little bit. This will create a small, blunt tip that forms the bottom of the cat’s chin. Crease this fold.
7. Flip the model back over to the side with the ears. You should now see a shape that resembles a cat’s head!
8. This is where you can get creative. Use markers or pens to draw on the cat’s eyes, nose, and whiskers. You can draw them on the triangular section above the folded chin.
Congratulations! You’ve just made your first origami paper character!
Common Pitfalls and How to Avoid Them
Even with the simplest models, beginners can sometimes encounter a few hurdles. Here are some common places where things can go wrong and how to steer clear of them:
* **Imprecise Folds:** As I mentioned earlier, this is probably the most common issue. If your corners don’t meet exactly or your edges aren’t aligned when you fold, the subsequent folds will be off, and the final model might look wonky.
* *How to avoid:* Slow down! Before creasing, take a moment to ensure everything is perfectly aligned. Use a flat surface to press your paper down and line up edges and corners. Sharp creases are your friend – they provide a good foundation for the next step.
* **Overly Thick Paper:** Trying to fold a model with too many layers using very thick paper can be frustrating. The folds might not be crisp, and the paper can resist bending.
* *How to avoid:* Stick to origami paper or thin printer paper for your first few attempts. If a model requires many folds, it’s often designed with thinner paper in mind. If you’re using a pattern that seems to be getting too thick, re-check your previous folds to ensure you haven’t accidentally made a mistake that’s adding unnecessary bulk.
* **Forgetting to Flip:** Sometimes, a model requires you to flip the paper over at a specific step to continue. Forgetting this can lead to a completely different outcome.
* *How to avoid:* Read each step carefully and pay attention to instructions like “Flip the paper over” or “Turn the model over.” If you’re unsure, look at the shape you’ve made and compare it to what the instruction implies should be happening. It’s okay to gently unfold a step to see if you’re on the right track.
Let Your Imagination Soar: How to Vary Your Origami Creations
The beauty of origami is its versatility. Once you’ve mastered a basic model, there are so many ways to personalize it!
* **Size:** As mentioned, start with a 6-inch square. But what happens if you use a 3-inch square? You’ll get a miniature version of your cat, perfect for decorating a card or a miniature scene. Conversely, a larger 12-inch square will result in a bigger, more impressive character. Experimenting with different sizes is a great way to see how proportions change.
* **Paper Patterns:** This is where you can really inject personality! Instead of plain colored paper, try using patterned origami paper. You can find paper with all sorts of designs: flowers, stars, geometric shapes, even cute cartoon characters themselves! Imagine your cat having a floral pattern for its fur or a galaxy print. For our cat example, you could even use paper with a subtle texture.
* **Color:** The choice of color is paramount for any character. Make a blue cat, a pink cat, a black cat, or even a rainbow cat! Don’t be afraid to mix and match. You could use a patterned paper for the main body and a solid color for the ears, or vice versa. For the cat’s chin fold, using a different color on the reverse side of the paper will create a lovely contrast.
Show Off Your Masterpieces: Display and Gifting Ideas
Once you’ve folded your wonderful origami characters, you’ll want to do something special with them!
* **Desk Buddies:** Place your origami creations on your desk or a shelf to add a touch of cheer to your room. They look adorable lined up together, creating a little origami village.
* **Card Decorations:** A small origami character glued onto a handmade card can elevate it from nice to truly spectacular. It’s a personal touch that shows you’ve put extra effort into your greeting.
* **Gift Toppers:** Instead of a traditional bow, tie a string around your origami character and use it to top a gift. It’s a unique and memorable way to present a present.
* **Mobile Creation:** String several origami characters together at different lengths to create a beautiful, handmade mobile. This is especially lovely for a child’s nursery or bedroom.
* **Storytelling Props:** Encourage imaginative play by using your origami characters as puppets or characters in stories. A collection of different animals can lead to hours of creative play.
* **Party Favors:** For a birthday party, hand out small, simple origami characters as favors. It’s a fun and affordable way to thank your guests.
* **A Garland:** Punch a small hole in the top of each character and thread them onto a string to create a festive origami garland. This is perfect for decorating for holidays or special occasions.
I hope you’ve enjoyed this introduction to origami paper characters. It’s a wonderfully rewarding craft that offers endless possibilities for creativity and fun. Remember to be patient with yourself, enjoy the process, and most importantly, have fun folding! Happy crafting!
Conclusion
And there you have it! We hope you’ve enjoyed creating your adorable origami paper characters. Don’t worry if your first attempt isn’t perfect; every folded masterpiece is a step in the learning process, and practice makes progress. We encourage you to try these delightful origami paper characters with your little ones and celebrate each creation. Why not share your finished models with family and friends? For your next adventure, try folding a simple origami crane or a playful origami dog! Keep that creativity flowing and explore more wonderful paper projects here at Crafts Hive. Happy folding!