Easy Patronus Picker Origami: Fun Harry Potter Paper Craft
Free Patronus Picker and let your inner witch or wizard soar! I’m so excited to share this fun, magical origami project with you. Imagine creating a beautiful, delicate paper Patronus – perhaps a graceful stag, a playful otter, or a noble doe – that floats just above its base, ready to guard your desk or enchant your bookshelf. This is perfect for complete beginners, kids looking for a bit of magic, or anyone wanting a charming handmade gift or unique decoration. You’ll be amazed how quickly you can fold your own Patronus in about 15-20 minutes! We’ll cover simple folds, precise creases, and how to bring your creature to life with just a single sheet of paper. Get ready to discover the joy of origami and unleash your own protective charm!
Your Own Magical Patronus Picker: A Fun Origami Project for Harry Potter Fans!
Hello fellow Harry Potter enthusiasts! Are you looking for a simple, delightful way to bring a little magic into your home or to create a unique gift? Today, we’re going to fold our very own Patronus Picker! This isn’t just any origami model; it’s a whimsical creation that can be used in so many fun ways, from deciding who picks the next Harry Potter movie to choosing who gets the last magical creature card. And the best part? It’s surprisingly easy to make, perfect for beginners and experienced folders alike. Let’s dive in and create some paper magic!
Choosing Your Magical Paper
The foundation of any good origami is the paper. For this Patronus Picker, we want something that’s easy to fold, holds creases well, and looks a little bit special.
* **Type of Paper:** Standard origami paper is your best friend here. It’s designed to be folded multiple times without tearing and has a good crispness to its folds. If you don’t have dedicated origami paper, regular printer paper (around 20-24 lb bond) will also work, though it might feel a little stiffer. Avoid cardstock, as it’s too thick for intricate folds.
* **Weight:** As mentioned, standard origami paper is usually around 70-90 gsm (grams per square meter). This is the sweet spot. Printer paper is also in this general range, so don’t worry too much if you’re using that.
* **Size:** A 6-inch (15 cm) square is the perfect starting size for this project. It’s manageable for beginners, and the finished model will be a delightful, palm-sized charm. You can absolutely go larger or smaller, but this is a great place to begin.
* **Single or Double-Sided:** This is where we can get creative!
* **Single-Sided:** If you use single-sided origami paper (one side white, one side coloured/patterned), your Patronus Picker will have a lovely coloured exterior and a white interior. This can look very elegant and classic.
* **Double-Sided:** Using double-sided origami paper (both sides coloured, or a different colour on each side) opens up a world of possibilities! You can have contrasting colours on the inside and outside, or even a patterned side and a solid colour. For a Patronus Picker, imagine a shimmering silver or gold on the outside and a magical blue or purple on the inside. It’s entirely up to your imagination!
Mastering the Base Folds: Building a Strong Foundation
Before we get to the specific Patronus Picker steps, let’s ensure we’re comfortable with two fundamental origami folds. Clean, precise folds are key to a beautiful finished model.
* **The Valley Fold:** This is like folding a piece of paper in half so the crease forms a “V” shape, like a valley. You bring one edge or corner to meet another edge or corner, and then firmly crease along the line where they meet.
* **The Mountain Fold:** This is the opposite of a valley fold, where the crease forms an inverted “V” shape, like a mountain peak. You’ll typically create a valley fold first, and then “unfold” it so the crease pops upwards. When instructed to make a mountain fold, it means folding along an existing crease in the opposite direction of how it was originally made.
**Tips for Clean Folds:**
* **Align Perfectly:** Before creasing, take your time to align edges and corners precisely. Even a millimeter off can affect later steps.
* **Use Your Fingernail:** Run your fingernail firmly along the crease. This creates a sharp, defined line that will make subsequent folds much easier and the final model much neater.
* **Work on a Flat Surface:** Always fold on a hard, flat surface like a table. This allows you to apply even pressure and get crisp creases.
Your Step-by-Step Patronus Picker Journey
Alright, let’s get folding! We’ll start with a square piece of paper. Make sure the side you want as the *outside* of your Patronus Picker is facing *down* on your table.
1. **The Initial Diagonal Fold:** Take the bottom-left corner of your square and bring it all the way up to meet the top-right corner. You should now have a triangle. Crease firmly along the diagonal edge.
2. **Unfold:** Gently open your paper back up. You’ll see a diagonal crease running from the bottom-left to the top-right.
3. **The Other Diagonal Fold:** Now, take the bottom-right corner and bring it all the way up to meet the top-left corner. You’ll form another triangle. Crease firmly along this diagonal edge.
4. **Unfold Again:** Open your paper back up. You should now have two diagonal creases forming an “X” across your square.
5. **The Horizontal Fold:** Turn your paper over so the coloured side is facing *up*. Take the bottom edge and bring it up to meet the top edge. Crease firmly.
6. **Unfold:** Open your paper back up. You’ll see a horizontal crease across the middle.
7. **The Vertical Fold:** Now, take the left edge and bring it over to meet the right edge. Crease firmly.
8. **Unfold:** Open your paper back up. You should now have a horizontal and a vertical crease, dividing your square into four equal smaller squares.
9. **Forming the Waterbomb Base:** This step requires a little bit of manipulation. With the coloured side still facing *up*, gently push the left and right edges *inwards* along the vertical crease. As you do this, the top of the paper will start to collapse downwards. Guide the top corner down to meet the bottom corner. You should end up with a smaller square, with four flaps meeting at the bottom point. This is called a waterbomb base. Don’t worry if it’s not perfect yet; we’ll refine it. Make sure the open edges of the flaps are at the *bottom*.
10. **Folding the Side Flaps (First Side):** Take the right flap of the *top layer only* and fold its bottom edge inwards to meet the centre vertical crease. Crease firmly. Repeat this with the left flap of the *top layer only*, folding its bottom edge inwards to meet the centre vertical crease. You should now have a kite-like shape on the top layer.
11. **Folding the Top Point Down:** Take the top triangular point of this kite shape and fold it down so the tip just touches the bottom points of the two flaps you just folded inwards. Crease firmly.
12. **Unfold the Last Three Folds:** Now, carefully unfold the two side flaps and the top point you just folded down. You’ll see the creases you’ve made.
13. **The Petal Fold (First Side):** This is the trickiest part, but with practice, it becomes second nature! Lift the bottom point of the *top layer only* upwards. Use the creases you made in step 10 as guides. As you lift, the sides will naturally want to fold inwards along those creases. Gently push the sides inwards, and flatten the flap upwards. You are essentially opening up the flap and folding it over itself to create a new, long, diamond shape. The tip of this diamond should align with the top point of the paper. Crease firmly.
14. **Repeat on the Other Side:** Flip your entire model over. You should see the back of the waterbomb base. Repeat steps 10 through 13 on this side. Fold the right flap to the centre, fold the left flap to the centre, fold the top point down, then unfold these. Finally, perform the petal fold by lifting the bottom point upwards and collapsing the sides inwards to create a diamond shape.
15. **Folding the Side Points Inwards:** You should now have a diamond shape with two flaps on each side. Take the rightmost point of the *top layer only* and fold it inwards so its edge aligns with the centre vertical crease. Crease firmly. Repeat with the leftmost point of the *top layer only*, folding its edge to the centre crease.
16. **Repeat on the Other Side:** Flip your model over. Repeat step 15 on this side, folding the right and left points inwards to meet the centre crease.
17. **The Final Fold:** Now, we’re almost there! Take the entire model and fold it in half from right to left, tucking one side behind the other. Crease firmly. This fold helps define the shape of your Patronus.
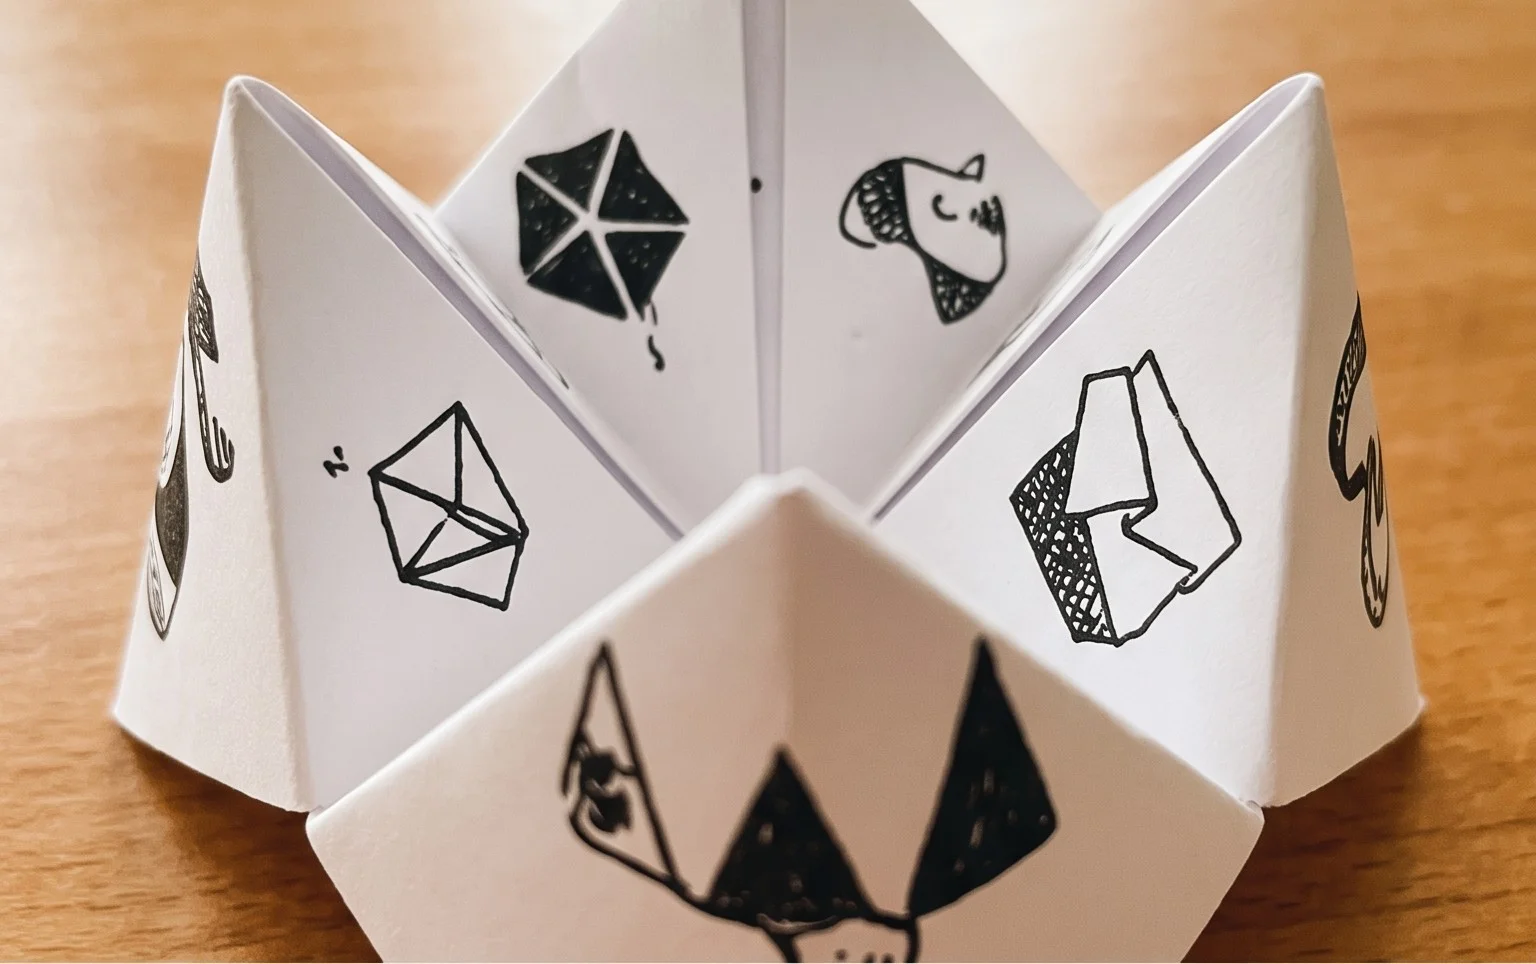
18. **Opening the Picker:** Gently pull apart the two layers at the top where the points are. This will open up the inside of your Patronus Picker, revealing two pockets. You’ve done it!
Where Beginners Often Go Wrong (and How to Avoid It!)
Don’t worry if your first attempt isn’t perfect – origami is a journey! Here are a couple of common hiccups and how to navigate them:
* **The Waterbomb Base Wobble:** Step 9, forming the waterbomb base, can feel a bit fiddly. If your base isn’t sitting flat and symmetrical, it’s likely because your initial diagonal folds weren’t precise enough, or you didn’t collapse it evenly.
* **Avoidance:** Go back to steps 1-4 and ensure your “X” crease is sharp and centred. When you start pushing the sides in for the waterbomb base, try to do it simultaneously on both sides, guiding the top point down smoothly. Think of it like making a little paper volcano collapse.
* **The Petal Fold Pucker:** Step 13, the petal fold, is where many beginners get a little stuck. If you find the paper puckerings or it doesn’t lie flat, it means your initial folds (steps 10 and 11) might not have been sharp enough, or you’re not using those creases as guides.
* **Avoidance:** Make sure the folds in steps 10 and 11 are *very* crisp. When you perform the petal fold, don’t force it. Instead, gently open the flap and let the existing creases guide the paper inwards. Flatten it down carefully, smoothing out any bumps. Patience is key here!
Making Your Patronus Picker Uniquely Yours: Variations
The beauty of origami is its adaptability! Here’s how you can personalize your Patronus Picker:
* **Size Matters:** Use larger squares of paper for bigger, more dramatic Patronus Pickers, or smaller ones for a delicate charm. Just remember that smaller paper requires finer, more precise folding.
* **Paper Patterns and Colours:** This is where the magic truly happens!
* **Themed Paper:** Look for paper with Harry Potter-inspired designs like constellations, magical creatures, Hogwarts crests, or even plain parchment-style paper.
* **Solid Colours:** Choose colours associated with your favourite house (Gryffindor red and gold, Slytherin green and silver, Ravenclaw blue and bronze, Hufflepuff yellow and black).
* **Metallic or Pearlescent Paper:** These add an extra shimmer that feels very magical.
* **Two-Tone Effects:** Use paper that’s one colour on one side and another on the reverse. This will create interesting colour contrasts on your finished model.
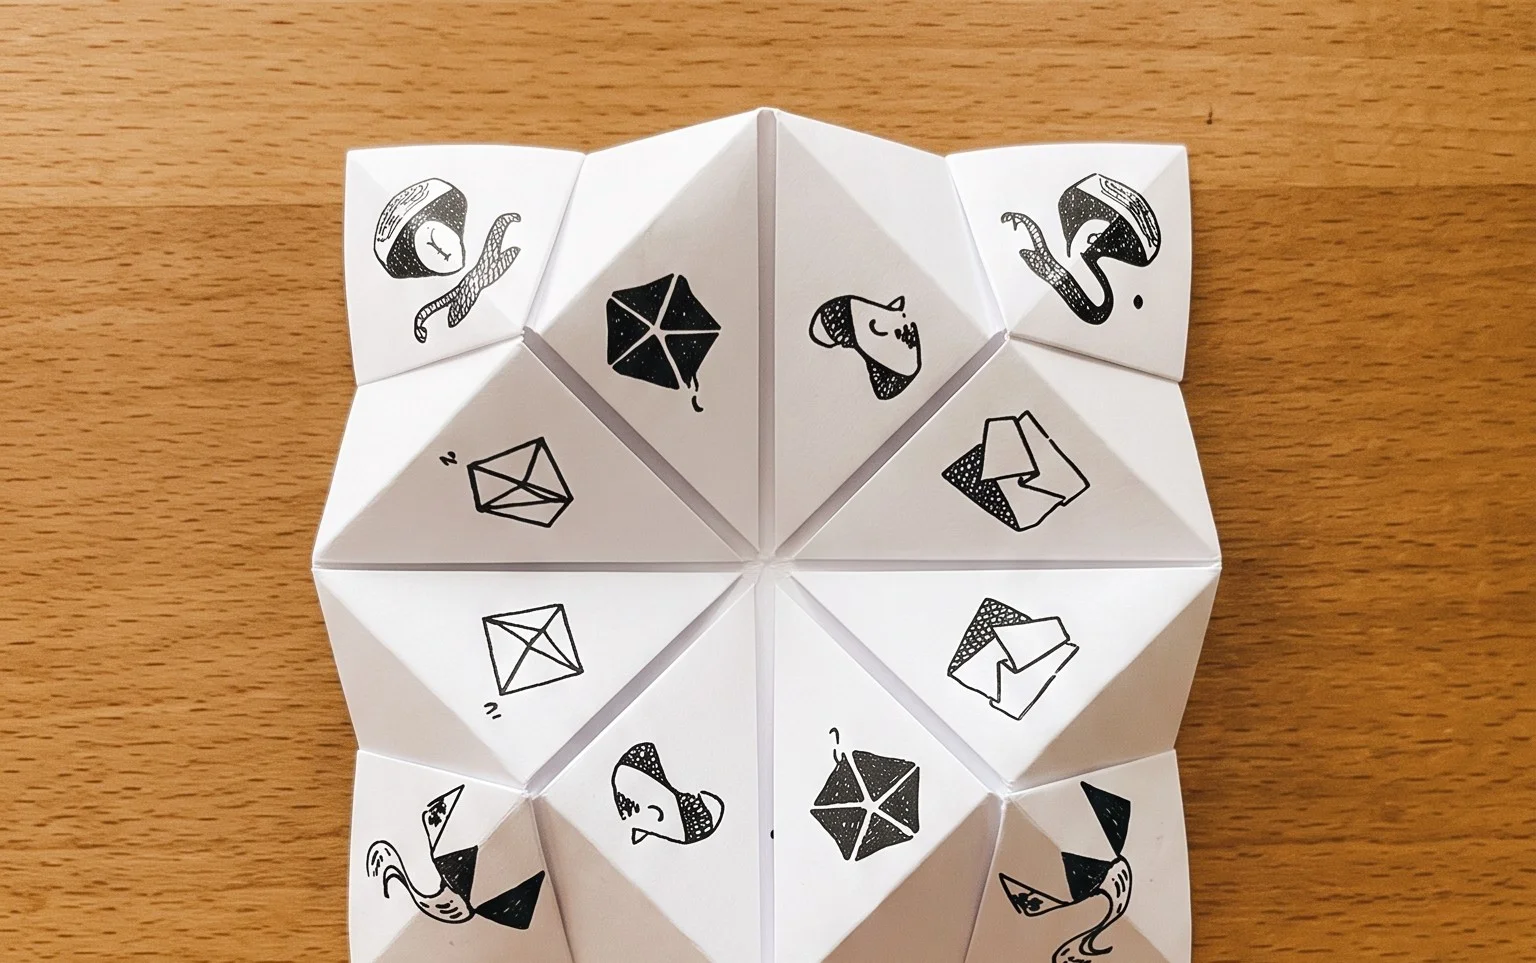
* **Adding Details:** Once folded, you could carefully draw small details with a fine-tip pen, like a faint glowing outline or tiny magical symbols. However, keep it simple so as not to impede the function of the picker pockets.
Displaying and Gifting Your Magical Creation
Your completed Patronus Picker is more than just a folded piece of paper; it’s a little piece of magic!
* **As a Game Tool:** The most obvious use is as a fun decision-maker! Write choices on small slips of paper and tuck them into the pockets. Pull out a slip to decide who picks the movie, who gets the first turn, or what snack you’ll have.
* **Decorative Charm:** It makes a wonderful desk ornament, a whimsical addition to a bookshelf, or a special embellishment for a party table.
* **Gift with a Magical Twist:**
* **Gift Topper:** Use it to top a gift for a fellow Harry Potter fan.
* **Inside a Card:** Slip it into a handmade card for a delightful surprise.
* **Party Favors:** Fold a batch in different colours for your next Harry Potter-themed party. You can even tuck a tiny rolled-up note with a fun fortune or a mini Harry Potter fact inside each pocket.
* **Charming Bookmark:** With a slight adjustment of the final fold, it can even function as a unique bookmark, adding a touch of magic to your reading adventures.
I hope you’ve enjoyed creating your Patronus Picker! It’s a simple project with so much potential for fun and enchantment. Happy folding, and may your Patronus always be strong!
Conclusion
You’ve done it! You’ve created your very own Free Patronus Picker! Don’t worry if your first attempt wasn’t perfect; every fold is a step in learning, and practice makes progress. We hope you have a magical time using it for your Harry Potter activities. Don’t forget to share your completed Patronus Picker with friends and family – they might be inspired to try this fun paper project too!
Next Steps:
Ready for more? Try making your Patronus Picker using patterned paper for a unique look, or perhaps a larger version for a centerpiece. We have so many more exciting paper projects waiting for you to discover and fold. Happy crafting!