Easy Trigami Dragon: Step-by-Step Origami Craft
Dragon! Today, we’re diving into the magical world of triangle origami to create a stunning dragon. Imagine a sleek, powerful creature, its triangular scales shimmering as it unfurls, with wings ready to take flight and a fearsome yet beautiful head. This project is perfect for anyone looking for a rewarding intermediate challenge, though dedicated beginners will find it achievable with patience. It makes a fantastic gift or a captivating decoration, and we estimate it’ll take around 30-45 minutes to complete.
Through this tutorial, you’ll master fundamental triangle origami folds and learn how to assemble them into a complex, three-dimensional form. We’ll guide you step-by-step, ensuring you feel confident and inspired as your dragon takes shape. Let’s grab some paper and get folding!
Unleashing Your Inner Dragon: A Trigami Masterpiece
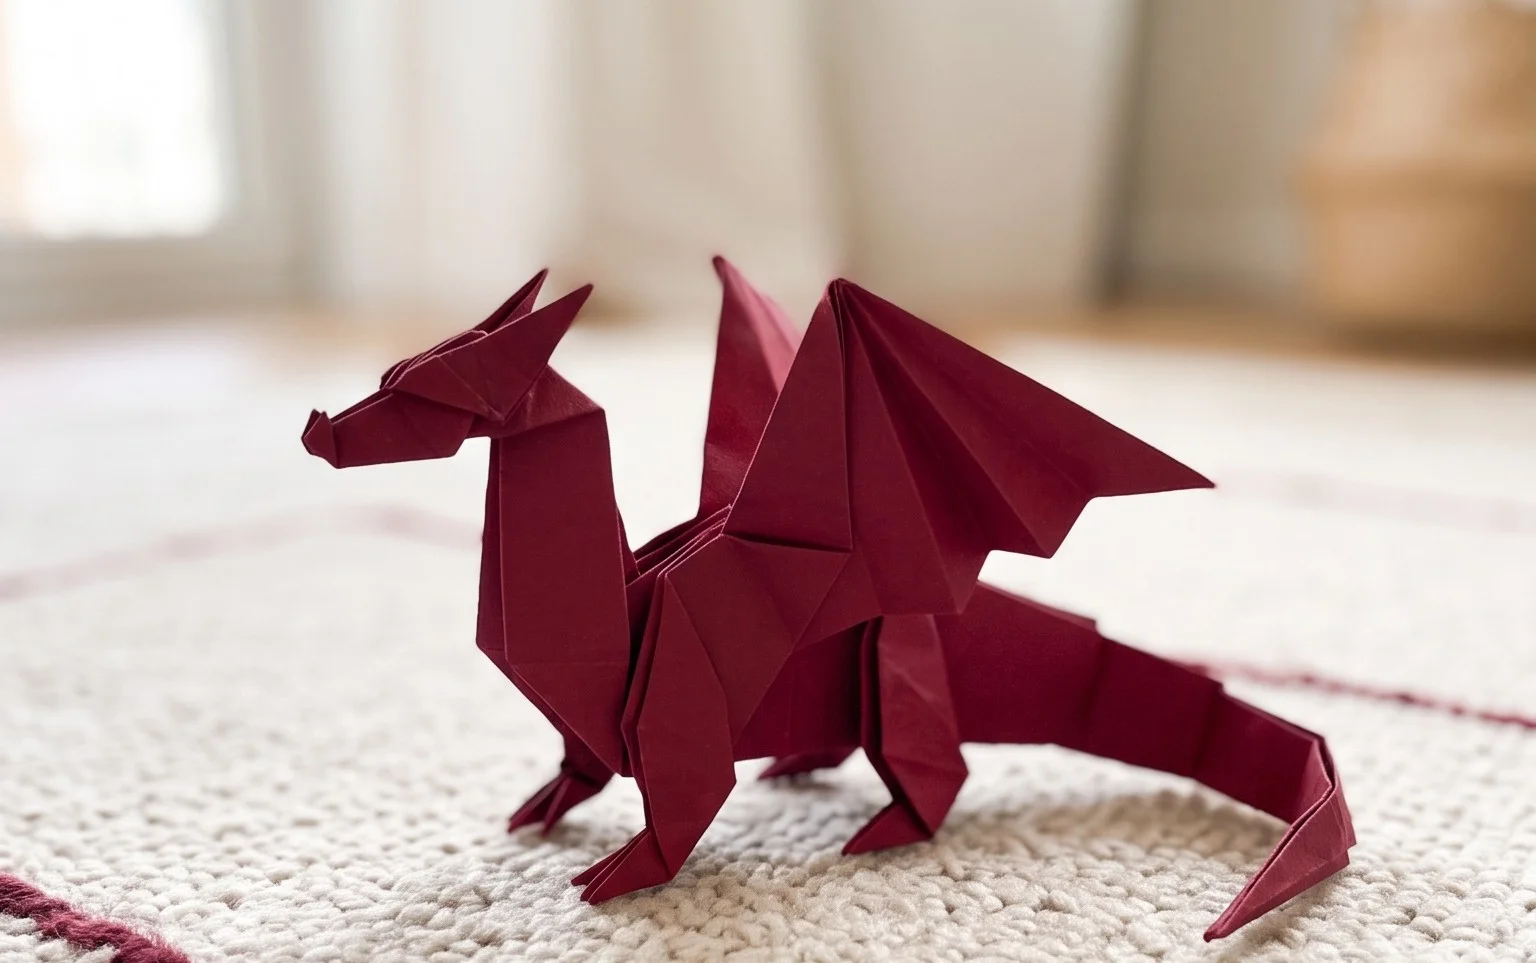
Hello origami enthusiasts! Today, we’re diving into the magical world of trigami to create a magnificent origami dragon, inspired by the incredible work of Nguyen Linh Son. Trigami, for those new to it, is a fascinating origami technique that uses a single triangular piece of paper as its starting point. It allows for some truly dynamic and beautiful models, and this dragon is no exception. Don’t worry if you’re a beginner; I’ll guide you through every step with clear, plain language. We’ll cover everything from selecting the perfect paper to avoiding common pitfalls and even making your dragon unique. So, let’s get ready to breathe some life into our paper!
Choosing Your Paper: The Foundation of Flight
The paper you choose is more than just a canvas; it’s the very essence of your dragon’s form and character. For this trigami dragon, I recommend a few key considerations.
Firstly, the type of paper. Standard copier paper is okay for practicing, but for a truly impressive dragon, consider using origami paper. Origami paper is specifically designed for folding, offering a good balance of strength and crispness. It’s thin enough to allow for many layers of folds without becoming too bulky, yet strong enough to hold its shape. Washi paper, a traditional Japanese paper, is another beautiful option, offering unique textures and durability.
Secondly, paper weight. For this dragon, a weight between 70gsm and 100gsm is ideal. Anything lighter might tear too easily, especially as we get into more complex folds. Anything heavier might become too stiff, making sharp creases difficult and potentially causing the paper to buckle.
Thirdly, size. For your first attempt, I suggest starting with a square piece of paper that is at least 20cm x 20cm (approximately 8 inches x 8 inches). This larger size will give you ample space to practice the folds and will make it easier to see what you’re doing. As you become more confident, you can experiment with smaller sizes for a more intricate, pocket-sized dragon.
Finally, single or double-sided paper. For this dragon, I prefer single-sided paper. This allows the white side of the paper to form the inside of certain parts of the dragon, like the belly or inner wings, creating a subtle contrast that can be quite striking. However, if you have beautiful double-sided paper that complements your design, go for it! It can add another layer of visual interest.
Mastering the Base Folds: The Building Blocks of Your Dragon
Before we embark on our dragon-folding journey, let’s make sure we’re comfortable with the fundamental folds required for trigami.
The Diagonal Fold:
Take your square piece of paper and lay it flat in front of you, white side up if you’re using single-sided paper. Bring the bottom right corner up to meet the top left corner. Press down firmly along the crease to create a sharp diagonal fold. Unfold the paper. Now, repeat this process by bringing the bottom left corner up to meet the top right corner. Crease firmly and unfold. You should now have two diagonal creases forming an ‘X’ across your square.
The Preliminary Base (Waterbomb Base):
This is a crucial base for many origami models, including our trigami dragon. Start with your square paper, white side up. Make sure the diagonal creases you just made are visible as valley folds (folding inwards). Now, bring the left and right edges of the paper inwards, collapsing the paper along the existing diagonal creases. The top point should come down to meet the bottom point, forming a smaller square. This is the preliminary base. It should have four flaps, two on each side.
The Triangle Base (Trigami Base):
This is where the magic of trigami truly begins. Take your preliminary base and orient it so that the open edges are pointing towards you. You should see a central crease running vertically. Now, take the right flap of the top layer and fold its bottom edge to meet this central vertical crease. Crease firmly. Repeat this with the left flap of the top layer, folding its bottom edge to meet the central vertical crease. Now, fold the top point of the paper down, creasing along the line where the two side flaps meet the top. Unfold these last three folds. You should have creases that create a diamond shape on the top layer. Now, lift the very top point of the paper upwards and peel back the side flaps outwards, using the creases you just made. The paper should naturally collapse inwards, forming a kite-like shape. This is your triangle base, the foundation of our trigami dragon. Turn the model over and repeat these steps on the other side. You will now have a symmetrical triangular shape.
The Fold Sequence: Bringing Your Dragon to Life
Now that we have our triangle base, let’s start sculpting our dragon. Remember to make all your creases sharp and precise; they are the bones of your creation.
1. Start with your triangle base with the closed point facing upwards and the open points (where the flaps are) facing downwards.
2. Take the right flap of the top layer and fold its outer edge inwards to meet the central vertical crease. Crease well.
3. Repeat step 2 with the left flap of the top layer, folding its outer edge inwards to meet the central vertical crease. Crease well. Your model should now look like a kite.
4. Now, take the very top point of the kite and fold it down, creasing where the two folded-in edges of the kite meet the top point. This fold will be a horizontal crease.
5. Unfold the last fold you just made (step 4). You’ll see a horizontal crease.
6. Lift the top point of the paper and peel back the two side flaps you created in steps 2 and 3. Using the horizontal crease you made in step 4 as a guide, perform an inside reverse fold. This means you’re essentially bringing the point down *inside* the layers of the paper. Push the side flaps outwards and flatten the paper so that the point is now folded inwards and downwards, creating a long, narrow shape. This will form the neck of your dragon.
7. Turn the model over.
8. Repeat steps 2 and 3 on this side. You will again have a kite shape.
9. Repeat step 4 on this side.
10. Repeat step 5 on this side.
11. Repeat step 6 on this side. This second inside reverse fold will form the tail of your dragon. You should now have two long, narrow points extending from the main body of the model.
12. Now, let’s work on the head. Take the point that will become the head (the one you performed the inside reverse fold on first, which is now pointing more upwards). You’re going to perform another inside reverse fold, but this time it’s smaller and at an angle. Look at the tip of this point and decide how long you want the dragon’s neck to be. Make a small crease where you want the head to bend. Then, open the tip slightly and perform an inside reverse fold along that crease, tucking the point inwards to create the angled head.
13. For the mouth, you can choose to make a small slit with scissors, or perform another tiny inside reverse fold at the very tip of the head. For a beginner, simply leaving it as a point is perfectly fine!
14. Now, let’s create the wings. Look at the two large flaps that are still on either side of the main body. We need to bring these out. Take the right flap and fold it outwards and slightly downwards, creating a diagonal fold that runs from the top of the body towards the bottom. The angle of this fold will determine the shape of your wing. Experiment to find a look you like. Crease firmly.
15. Repeat step 14 on the left side with the left flap.
16. To give the wings more definition, you can make smaller pleats or folds along the edges of the wings. For example, you can fold the outer edge of each wing upwards slightly to create a more sculpted effect.
17. Finally, gently curl the tail and wings outwards to give your dragon a sense of movement and life.
Common Beginner Pitfalls and How to Avoid Them
Don’t get discouraged if your first dragon doesn’t look exactly like you imagined! It’s all part of the learning process. Here are a few places beginners often get stuck and how to navigate them.
* **Fussy Folds on the Preliminary/Triangle Base:** The preliminary base (waterbomb base) and the triangle base are foundational. If these aren’t crisp, the rest of the folds will be challenging.
* **How to avoid:** Ensure you’re aligning corners and edges precisely before creasing. Use the tip of your fingernail or a bone folder to make sharp creases. If the paper isn’t collapsing easily, it often means a previous crease wasn’t sharp enough or the alignment was slightly off. Don’t force it; unfold and refold carefully.
* **The Inside Reverse Fold:** This is a slightly more advanced fold that can be tricky for beginners. It involves folding a point inwards between layers of paper.
* **How to avoid:** Before attempting the inside reverse fold, make the crease that will guide it very clearly. Then, gently open the paper at that point just enough to tuck the flap inside. Imagine you’re creating a small pocket and pushing the point into it. Patience is key here; it might take a few tries to get the paper to cooperate.
* **Uneven Wings/Tail:** The symmetry of the dragon relies on making similar folds on both sides.
* **How to avoid:** Pay close attention to the angles and positions of your folds when creating the wings and tail. After you fold one side, hold your model up and compare it to the other side. Try to replicate the angle and length as closely as possible. It’s okay if they’re not perfectly identical, but aim for a pleasing balance.
Making Your Dragon Your Own: Variations and Personalization
Once you’ve mastered the basic fold, the fun really begins with personalization!
* **Size:** As I mentioned, using smaller or larger square paper will dramatically change the size of your finished dragon. For tiny dragons, use paper as small as 7.5cm x 7.5cm. For impressive statement pieces, try 30cm x 30cm or even larger.
* **Paper Pattern and Color:** This is where you can let your imagination soar!
* **Patterned Paper:** Origami paper often comes with beautiful patterns. Consider papers with scales, dragons, or other mythical motifs for an extra touch.
* **Solid Colors:** Use a single, vibrant color for a bold look, or a more muted tone for an ancient, wise dragon.
* **Two-Tone Effects:** Using single-sided paper with a contrasting color on the reverse side can create stunning effects. For example, a red paper with a gold underside can make for a fiery, majestic dragon. Or a deep blue with a silver underside for a celestial beast.
* **Metallic or Iridescent Papers:** These can add a magical shimmer to your dragon, making it look truly enchanting.
* **Adding Details:** You can go beyond the basic folds.
* **Eyes:** After folding, you could carefully draw on small eyes with a fine-tipped marker.
* **Claws:** For a more advanced variation, you could attempt to shape the feet into claws with tiny folds.
* **Spikes:** You could make small pleats along the back of the dragon to suggest spikes.
Displaying and Gifting Your Dragon: A Treasure to Behold
Your completed dragon is a work of art, and it deserves to be showcased!
* **Display:**
* **Desk Ornament:** Place your dragon on your desk or bookshelf as a constant reminder of your creative accomplishment.
* **Mobile:** String multiple smaller dragons together to create a whimsical mobile.
* **Centerpiece:** For a special occasion, a larger, more elaborately decorated dragon can be the stunning centerpiece of a table.
* **Shadow Box:** Frame your dragon in a shadow box for a sophisticated and protected display.
* **Gifting:** An origami dragon makes a truly unique and thoughtful gift.
* **For Dragon Lovers:** Obviously, anyone who loves dragons will adore this handmade treasure.
* **For Students:** It can be a fun and educational gift for someone learning about geometry and patience.
* **For Special Occasions:** Birthdays, holidays, or even as a good luck charm, an origami dragon carries a special magic.
* **Gift Packaging:** Place your dragon inside a clear cellophane bag tied with a ribbon, or nestle it in a small, decorative box.
Folding this trigami dragon is a rewarding journey. It requires patience, precision, and a little bit of courage to tackle new folds. But the result is a creature of myth and beauty, brought to life by your own hands. I encourage you to embrace the process, celebrate your successes, and learn from any challenges. Happy folding, and may your paper dragons soar!
Conclusion
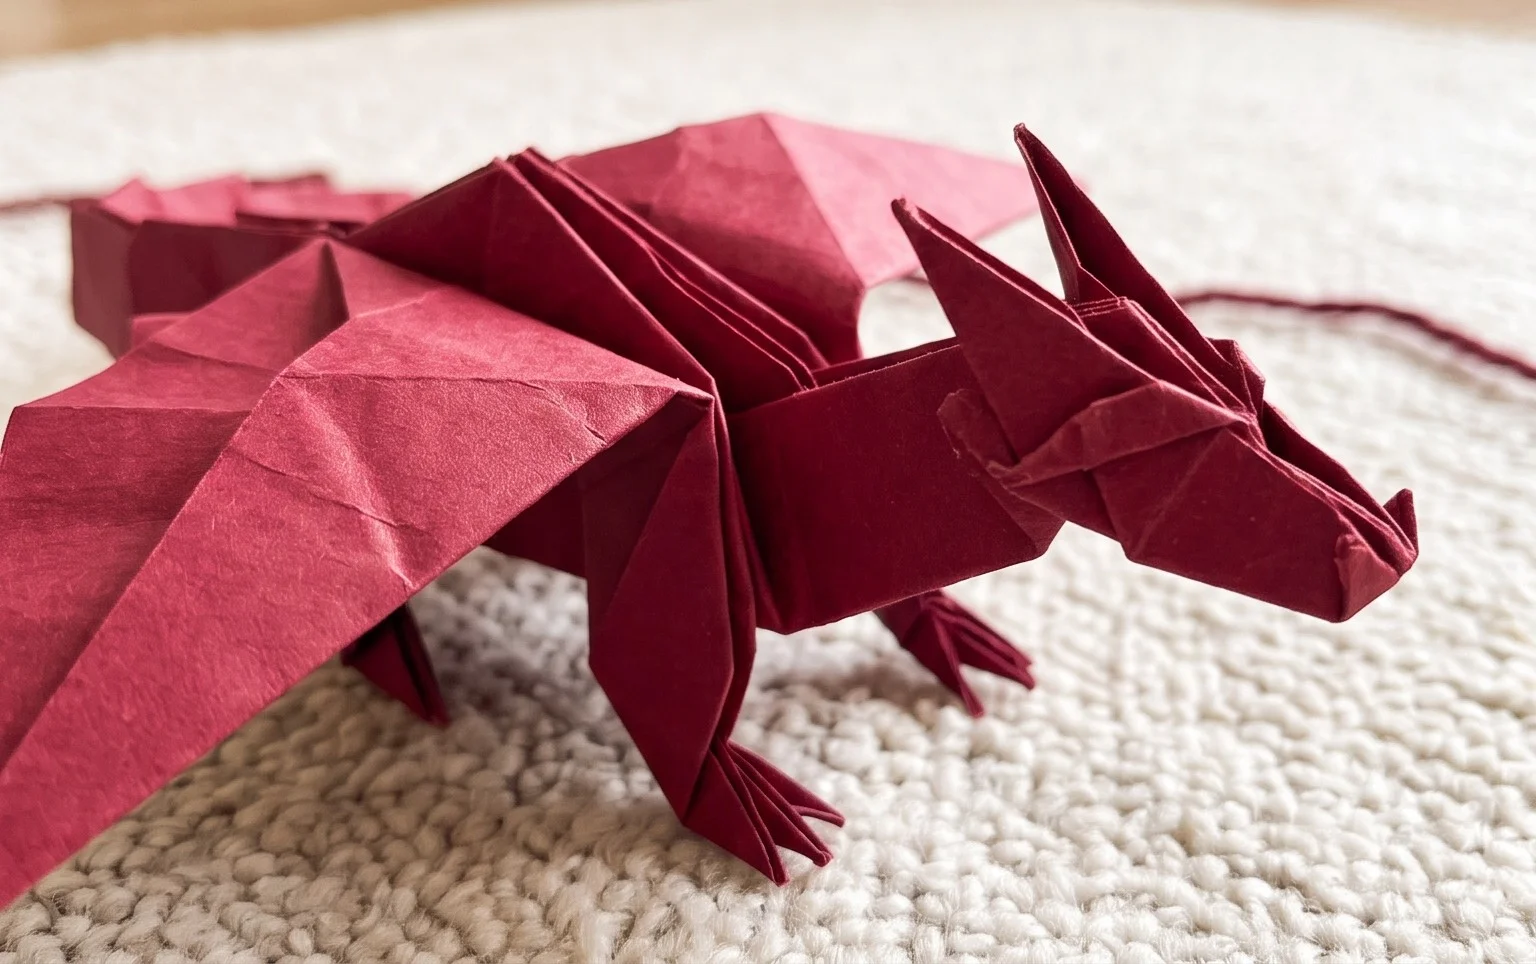
Congratulations on folding your very own origami dragon! Don’t worry if your first attempt isn’t perfect; every #dragon fold is a learning experience. Practice makes perfect, and you’ll be amazed at how quickly your skills develop. Once you’re happy with your creation, we’d love to see it! Share your finished model using the hashtag #trigami. For your next adventure, try creating a different creature with #triangleorigami or experiment with a classic crane. The world of paper folding is vast and exciting, so keep exploring and enjoy the journey!