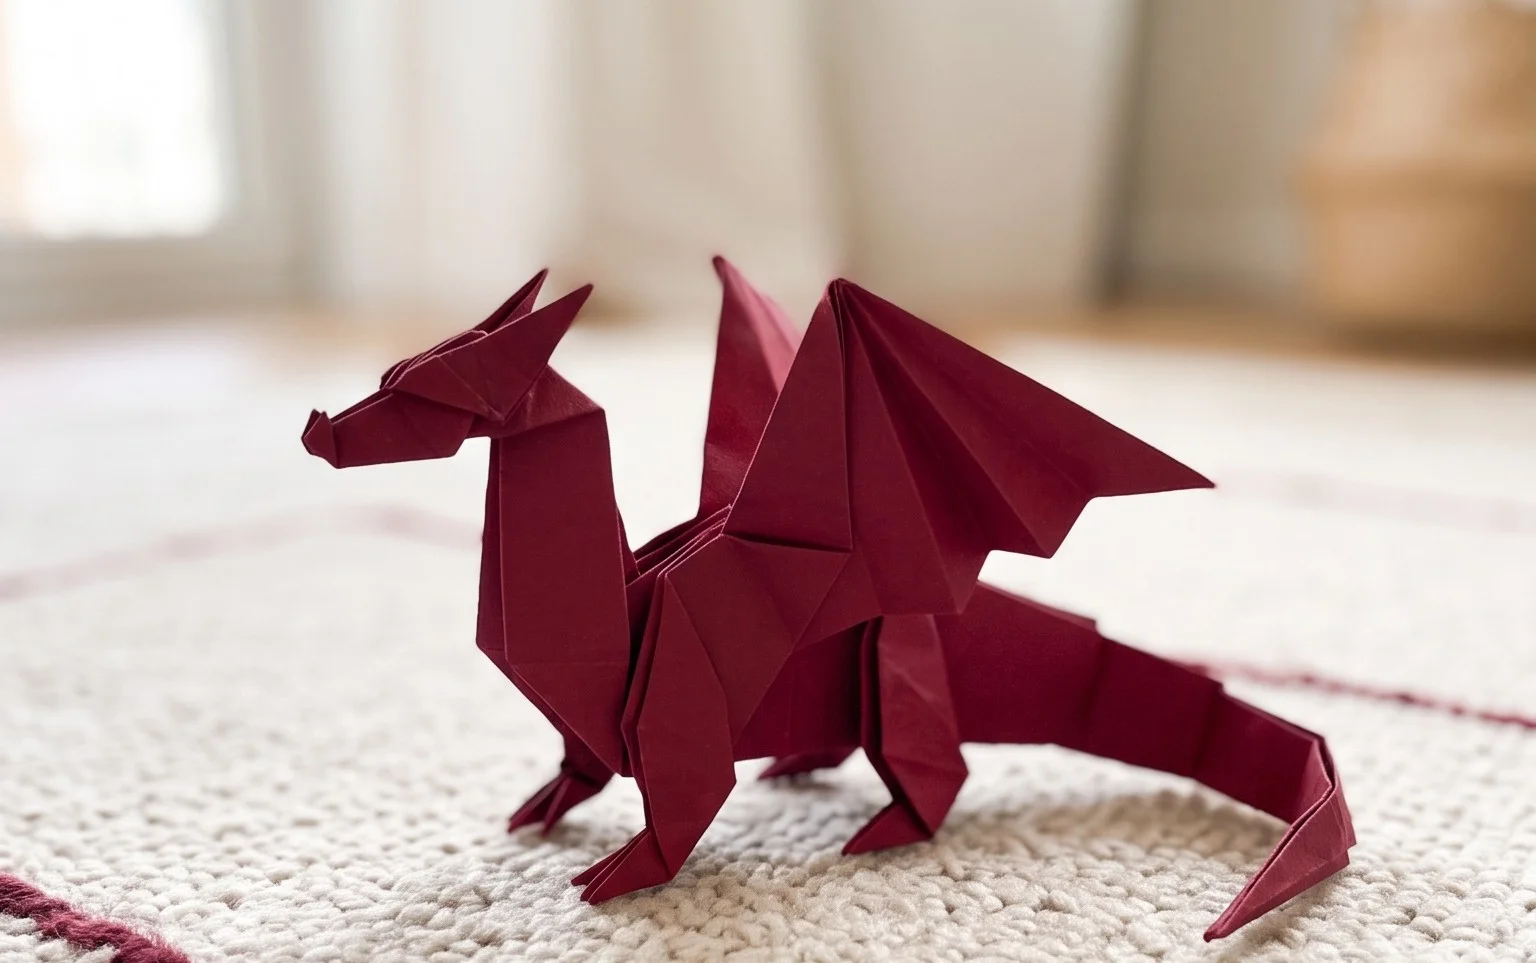
Easy Origami Straw Rockets: Step-by-Step Paper Craft
How to Make Straw Rockets! Get ready for some serious fun because we’re about to transform a simple piece of paper and a drinking straw into your very own flying marvel. Imagine a sleek, colorful rocket, ready to soar through the air with just a puff of your breath. This project is perfect for little engineers and anyone who loves a quick, exciting craft. It’s a fantastic activity for kids, a unique party favor, or even a fun decoration. In about 15-20 minutes, you’ll learn the easy-to-follow steps to fold a stable rocket body and attach it securely to your straw launcher.
We’ll cover precise folding techniques and how to create a perfect seal, ensuring your straw rocket achieves impressive flights. So, grab your paper and get ready to launch!
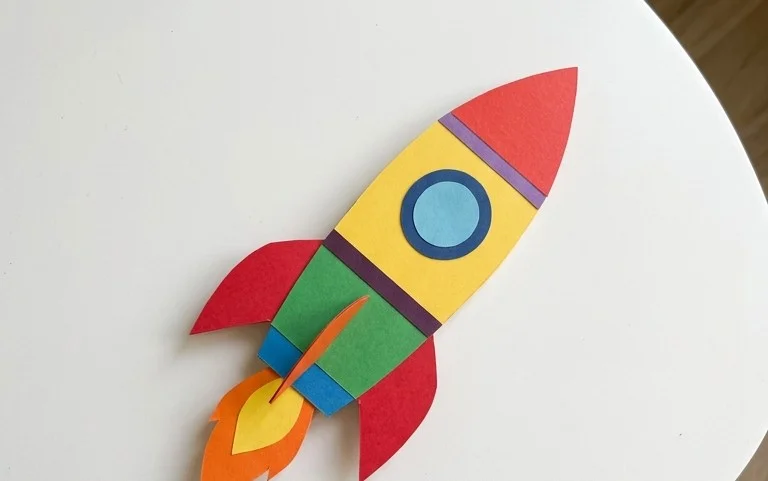
Making Amazing Straw Rockets: A Simple Origami Adventure
Hello there, fellow paper enthusiasts! Today, we’re going to embark on a fun and accessible origami journey to create straw rockets. These aren’t just pretty to look at; they’re designed to fly! This project is perfect for beginners, requiring only a few basic folds and a bit of patience. We’ll cover everything you need to know to make your own fleet of paper rockets, from choosing the right paper to troubleshooting common mistakes. So, grab your paper and let’s get folding!
Choosing Your Paper: The Foundation of Flight
The type of paper you use is more important than you might think for straw rockets. We want something that’s sturdy enough to hold its shape and withstand a bit of air pressure, but not so thick that it becomes difficult to fold precisely.
Paper Type and Weight
For your first straw rockets, I highly recommend using standard printer paper, also known as copy paper. This is typically around 20-pound or 75-gram weight. It’s readily available, easy to fold, and provides a good balance of rigidity and pliability. Avoid cardstock, as it will be too stiff and difficult to crease cleanly, and very thin paper like tissue paper, which will be too flimsy and won’t hold its shape.
Paper Size
We’ll be working with standard letter-size paper (8.5 x 11 inches or A4). This size is ideal for creating a rocket with a good length for flying. If you want smaller rockets, you can always cut the paper down to a smaller rectangle before you start, but for your first try, sticking with the standard size is best.
Single or Double-Sided Paper?
For this project, it doesn’t really matter if your paper is single or double-sided. If you have double-sided paper with a fun pattern or different colors on each side, that can add a wonderful visual flair to your finished rockets, making them look even more dynamic in flight. If you’re using plain white printer paper, you can always color your finished rockets later, which is another fun way to personalize them!
The Base Folds: Building Blocks of Your Rocket
Before we dive into the specific sequence, let’s get comfortable with a couple of fundamental origami folds. Mastering these will make the rest of the process smooth sailing.
The Valley Fold:
This is the most common fold. Imagine you’re folding a piece of paper in half to create a valley. You bring one edge or corner to meet another edge or corner, and then you press down firmly along the crease. The paper folds *towards* you. We’ll use this for most of our steps.
The Mountain Fold:
This is the opposite of a valley fold. Imagine you’re folding a piece of paper so that the crease forms a mountain peak. You’re folding the paper *away* from you. While we won’t explicitly call for many mountain folds in this particular design, understanding the concept helps in recognizing what’s happening with the paper. For our straw rocket, we’ll primarily be making valley folds, and pressing them down firmly.
Making Clean Folds: The Secret to a Tidy Rocket
The key to clean folds, especially for models that need to be aerodynamic, is precision and a good crease.
First, align your edges or corners as accurately as possible. Don’t just eyeball it; take a moment to line them up perfectly.
Second, once aligned, run your fingernail or a bone folder (if you have one) along the crease firmly. This sharpens the fold and helps the paper hold its shape. A good, sharp crease makes subsequent folds much easier and the finished product much neater.
Step-by-Step: Folding Your Straw Rocket
Now, let’s start folding! We’ll assume you have a standard rectangular piece of paper in front of you, oriented vertically (the longer sides are on the left and right).
1. Begin by folding the paper in half lengthwise. Bring the right edge over to meet the left edge. Align them perfectly and press down firmly along the fold from top to bottom to create a sharp crease. Unfold the paper. You should now have a vertical crease running down the center of your paper.
2. Take the top right corner and fold it down so that the edge aligns perfectly with the center crease you just made. Press down firmly along this diagonal fold.
3. Repeat step 2 with the top left corner. Fold it down so its edge meets the center crease. You should now have two triangular flaps at the top, meeting at the center crease. The top edge of your paper should now form a point.
4. Now, take the pointed top edge that you just created and fold it down. The point should be folded downwards, and the top horizontal edge of the paper should now align with the bottom edges of the two triangular flaps you folded in steps 2 and 3. Press down firmly along this new horizontal crease.
5. This next fold is similar to step 2, but on the new top edge. Take the top right corner (of the folded-down section) and fold it inwards so its edge meets the center crease. You will be folding over the previous layers. Press down firmly.
6. Repeat step 5 with the top left corner. Fold it inwards to meet the center crease. Again, you are folding over the previous layers. Press down firmly. You should now have a narrower point at the top, with two new smaller triangular flaps folded inwards.
7. You’ll see a small triangular flap sticking out at the bottom of the two flaps you just folded in. Take this small triangular flap and fold it upwards, over the two flaps you just folded. This will help to lock everything in place. Press down firmly.
8. Now, turn the entire model over.
9. Fold the entire model in half along the original center crease, bringing the right side over to meet the left side. This is a valley fold, folding *towards* you. The pointed tip of your rocket should be on the outside. Press down firmly to reinforce the center fold.
10. This is where your rocket starts to take shape. You’ll have a long, thin shape with a pointed tip. To create the nose cone, you’re going to fold the pointed tip down. Take the very tip of the rocket and fold it downwards. The exact amount you fold down will determine the size of your nose cone. For a good starting point, fold down about 1 inch (or 2-3 cm). The fold should be perpendicular to the long edge of the rocket. Press down firmly.
11. You now have a basic rocket shape! To make it aerodynamic and ready to fly, we need to create the fins. Look at the back end of your rocket (the end opposite the nose cone). You’ll see two layers of paper. Fold the top layer down outwards, away from the center of the rocket, to create a fin. The fold should start at the center of the rocket and extend outwards. Aim to make this fold roughly parallel to the long edge of the rocket. Press down firmly.
12. Turn the rocket over and repeat step 11 on the other side. Fold the remaining layer of paper down outwards to create the second fin. Ensure it mirrors the first fin as closely as possible for balanced flight. Press down firmly.
Congratulations, you’ve made your first straw rocket!
Troubleshooting: Where Beginners Often Go Wrong (And How to Fix It!)
Even with clear instructions, a few common pitfalls can trip up beginners. Don’t worry if yours isn’t perfect the first time; these are learning opportunities!
* **Uneven Folds, Especially the Center Crease:**
* **The Problem:** If your initial center crease isn’t perfectly straight, or if your corners in steps 2 and 3 don’t meet the center line precisely, your rocket will likely be lopsided. This can cause it to fly erratically or not at all.
* **How to Avoid It:** Before you make any folds, make sure your paper is oriented correctly. Take your time lining up the edges in step 1. When you make the crease, run your fingernail along it with firm, even pressure from top to bottom. For the corner folds (steps 2 & 3), ensure the edges you’re folding meet the center crease exactly.
* **Nose Cone Too Big or Too Small:**
* **The Problem:** In step 10, the amount you fold down for the nose cone significantly impacts how your rocket flies. Too big, and it might be too heavy at the front. Too small, and it might not have enough stability.
* **How to Avoid It:** For your first few rockets, experiment with the size of the nose cone fold. A good starting point is about 1 inch (2-3 cm). If your rocket veers sharply to one side, try slightly adjusting this fold on your next attempt. Aim for a nose cone that looks proportionate to the length of your rocket.
* **Fins Not Symmetrical or Not Firmly Creased:**
* **The Problem:** The fins are crucial for stabilizing your rocket in flight. If they are unevenly folded, or if the creases aren’t sharp, the rocket will wobble and won’t fly straight.
* **How to Avoid It:** In steps 11 and 12, take extra care to make the fin folds as identical as possible on both sides. Try to hold the rocket firmly while you make the fold to ensure it’s straight and extends outwards cleanly. Again, a firm crease is key here. If your fins feel a bit floppy, go back and press down on the creases again.
Let Your Creativity Soar: Variations and Customization
Once you’ve mastered the basic straw rocket, the fun is just beginning! There are so many ways to personalize your creations.
Varying the Size
* **Smaller Rockets:** To make smaller rockets, simply start with a smaller rectangle of paper. You can cut a standard sheet in half lengthwise or widthwise, or even just trim down a portion of a sheet. You’ll need to adjust the nose cone fold (step 10) to be proportionally smaller as well.
* **Larger Rockets:** For larger rockets, you could potentially use larger paper, though standard sizes are usually sufficient for impressive results. You might need to use slightly thicker paper if going significantly larger to maintain structural integrity.
Paper Patterns and Colors
* **Patterned Paper:** This is where you can really let your imagination run wild! Use paper with stars, stripes, geometric designs, or anything you like. Double-sided patterned paper is fantastic, as it adds visual depth to your rocket.
* **Solid Colors:** Use different colored paper to create themed rockets – think red for speed, blue for the sky, or green for a stealth bomber! You can also color your plain white rockets with markers or crayons after they’re folded.
* **Metallic or Glitter Paper:** For a truly dazzling rocket, try using metallic or glitter paper. Be aware that these papers can sometimes be a little trickier to fold precisely, so a bit more patience might be needed.
Displaying and Gifting Your Fleet
Your finished straw rockets are more than just toys; they’re little works of art!
* **Display:** You can arrange your rockets on a shelf, standing upright, to create a striking display. Imagine a collection of rockets in different colors and patterns! You could even create a “launchpad” display using a small box or some colorful construction paper.
* **Gifting:** Straw rockets make wonderful, handmade gifts for friends, family, or party favors. Package them in a small box or a clear cellophane bag tied with a ribbon. You could even include a simple note saying, “Ready for takeoff!”
* **Interactive Gifts:** For a more dynamic gift, pair your rockets with a straw and a little note explaining how to launch them. This adds an element of fun and interactivity.
Making straw rockets is a rewarding origami experience that combines creativity with a bit of scientific play. With these instructions and a little practice, you’ll be launching your own paper fleet in no time. Happy folding and happy flying!
Conclusion
Congratulations on making your very own straw rockets! We hope you had fun with this simple yet exciting paper project. Don’t worry if your first attempt isn’t perfect – that’s just part of the learning process! The key is to keep practicing and have fun. Share your amazing straw rockets with friends and family, and see whose can fly the farthest. For your next challenge, try adding some fins for extra stability or experiment with different sizes of paper to see how it affects the flight. There are so many more exciting paper projects waiting for you to discover!