Easy Origami Twisted Green Paper Ribbon: Step-by-Step
Twisted Paper Ribbon in Green is a wonderfully simple yet elegant origami creation that I’m so excited to share with you today! Imagine a delicate, flowing ribbon, like a lush green vine or a graceful emerald scarf, all crafted from a single sheet of paper. It’s surprisingly easy to make and the result is so charmingly decorative. This project is absolutely perfect for complete beginners and kids alike, and it’s a fantastic way to add a special touch to handmade cards, gift wrapping, or even as a lovely garland. You can expect to create one of these beautiful ribbons in just about 5-10 minutes. Together, we’ll learn the basic folds and twists needed to transform a flat square into this delightful 3D form. Let’s get folding!
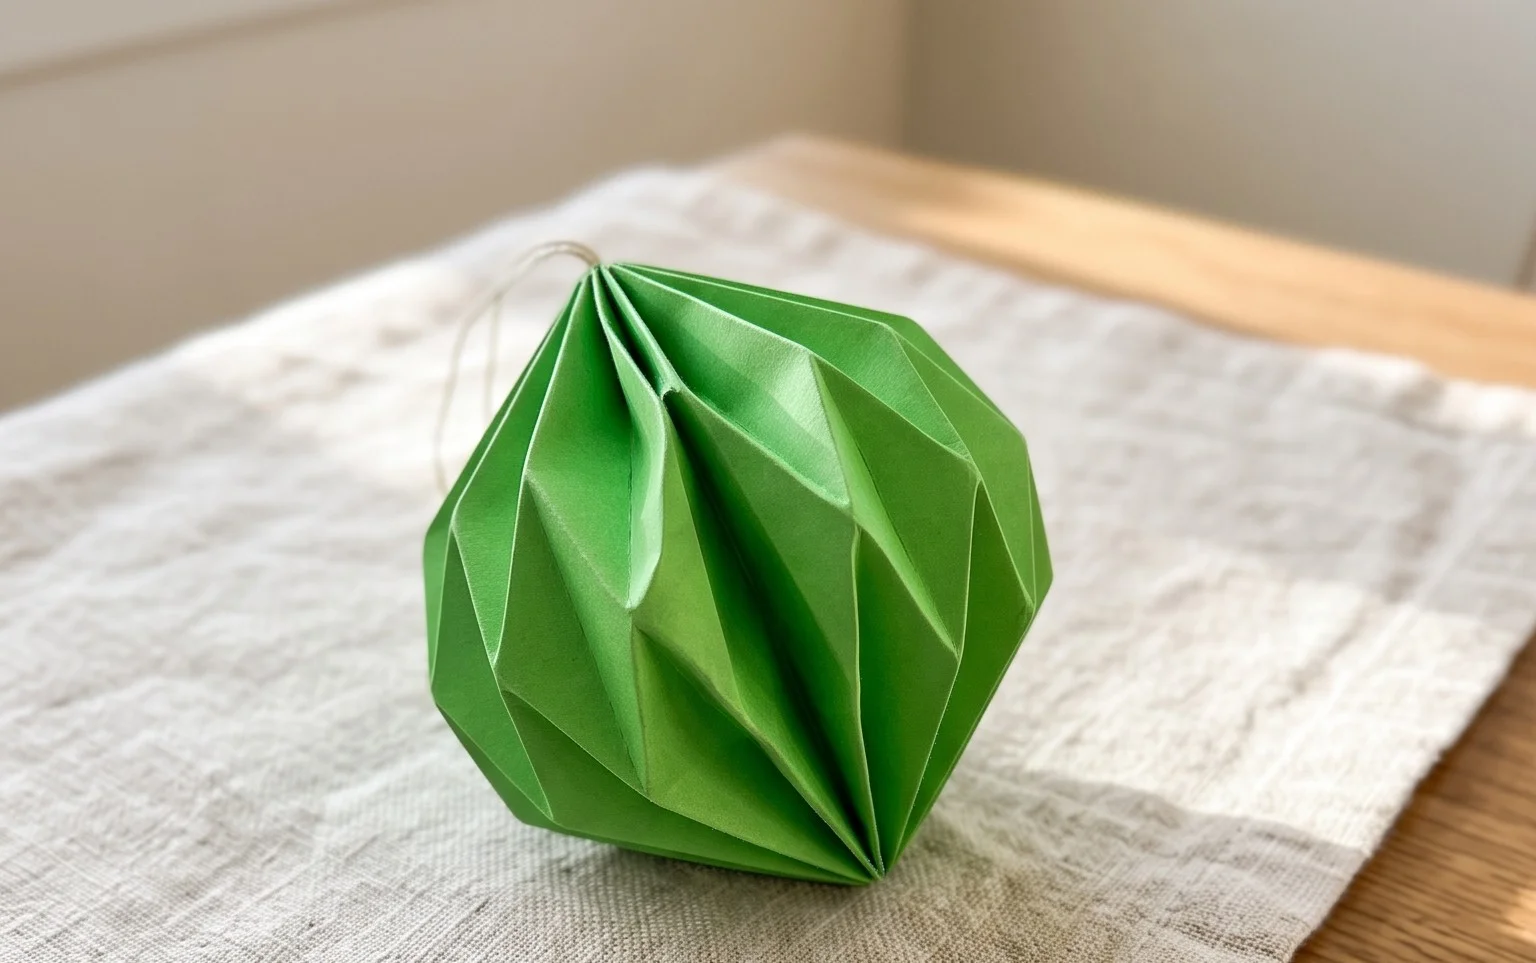
Crafting a Verdant Ribbon: A Beginner-Friendly Origami Tutorial
Hello fellow paper enthusiasts! Today, we’re going to embark on a delightful origami journey to create a beautiful twisted paper ribbon. This is a wonderful project for beginners, offering a satisfying result with relatively simple folds. The twisted ribbon has a lovely organic feel and looks fantastic in shades of green, evoking nature’s vibrant hues. I’ll guide you through every step with clear, plain language, so don’t worry if you’re new to origami – we’ll tackle this together!
Choosing Your Green Canvas: The Paper
The foundation of any good origami model is the paper, and for our twisted ribbon, the choice is crucial for achieving that lovely, flowing look.
* Type of Paper: For this project, I highly recommend using standard origami paper, often called kami. It’s specifically designed to hold creases well and is thin enough to allow for multiple folds without becoming too bulky. If you can’t find kami, any thin, crisp paper will work, like copy paper cut into squares. Avoid cardstock or very thick paper, as it will be difficult to fold accurately.
* Weight: Origami paper typically has a weight of around 70-80 gsm (grams per square meter). This is perfect for our ribbon, giving it enough structure to hold its shape without being stiff.
* Size: For beginners, I suggest starting with a square piece of paper that’s at least 6 inches (15 cm) by 6 inches. Larger sizes are generally easier to handle when learning new folds. As you gain confidence, you can experiment with smaller sizes.
* Single or Double-Sided: For this specific twisted ribbon, a single-sided piece of paper works beautifully. The ‘wrong’ side will become part of the inner twist, and a plain white or contrasting colour can actually add a subtle depth to the finished piece. However, if you have double-sided green paper, that will also be stunning!
Building the Foundation: The Base Folds
Before we begin the twisting, we need to prepare our paper with a few essential base folds. These folds create the guidelines that will make our subsequent steps much easier and more precise. We’ll be working with our paper white-side up, if it has a white side.
First, let’s make a diagonal fold. Take one corner of your square and bring it precisely to meet the opposite corner. Align the edges perfectly. Once they meet, crease the fold firmly from one end to the other. Then, unfold the paper. Now, take the opposite corner and bring it to meet its opposite corner, making another diagonal fold. Crease this firmly as well, and then unfold. You should now have two diagonal creases that form an ‘X’ across your paper.
Next, we’ll make a horizontal fold. Flip your paper over so the coloured side is facing up. Take the bottom edge and bring it up to meet the top edge. Align the corners and edges as accurately as possible. Crease this fold firmly all the way across. Unfold the paper. Now, take the left edge and bring it across to meet the right edge. Align the corners and edges, crease firmly, and unfold. You should now have your diagonal creases from before, plus two perpendicular creases forming a ‘+’ sign in the center of your paper.
The Twisting Sequence: Step-by-Step Instructions
Now that our paper is prepared, we’re ready to bring our twisted ribbon to life! Please follow these steps carefully.
1. Start with your paper coloured-side up, with the diagonal and perpendicular creases visible.
2. Bring the bottom edge up to meet the center horizontal crease. Align the edge with the crease and crease the fold firmly. Your paper will now be a rectangle.
3. Flip the entire model over.
4. Bring the bottom edge (which is now the new bottom edge of the rectangle) up to meet the center horizontal crease. Align this edge with the center crease and crease firmly. You now have a narrower rectangle.
5. Flip the model over again.
6. Take the top edge and bring it down to meet the center horizontal crease. Align the edge precisely and crease firmly.
7. Flip the model over one last time.
8. Take the top edge (which is now the new top edge of the narrower rectangle) and bring it down to meet the center horizontal crease. Align this edge with the crease and crease firmly. You should now have a very long, thin rectangle.
9. Now, we’re going to create the twist. Hold the model so that the longer edges are running vertically. Imagine a line running down the center of the long rectangle.
10. Take the right vertical edge and fold it inwards towards the center line. You want to aim for about half of the width of the paper. Don’t aim for the absolute center, but rather a bit to the left of it. Crease this fold firmly.
11. Now, take the left vertical edge and fold it inwards over the fold you just made. Again, aim to bring this edge to about half of the remaining visible width. The goal is to create overlapping layers that start to form the twist. Crease this fold firmly. You should have a slightly thicker, layered strip.
12. This is where the magic happens! With the layered strip in front of you, gently pinch the center of one of the shorter ends. Now, begin to twist the paper. You can do this by holding one end and gently rotating the other, or by gently twisting the entire strip between your thumb and forefinger as you slide your hands along its length. Aim for a consistent, gentle twist. You’ll see the layers start to spiral around each other, creating that beautiful ribbon effect. Be patient! The twist will become more defined as you work along the length.
13. Once you’re happy with the twist, gently flatten the ends slightly to help it hold its shape. You can also gently run your fingers along the entire length of the twisted ribbon to ensure the twist is even and the creases are sharp.
Navigating the Knots: Common Beginner Pitfalls and How to Avoid Them
Even with the best instructions, it’s easy to encounter a few bumps in the road when you’re learning a new origami fold. Here are two common places beginners tend to go wrong with this twisted ribbon and how to steer clear of them:
* Imprecise Base Folds: This is perhaps the most critical area for beginners. If your initial diagonal and perpendicular creases aren’t accurate, the subsequent folds won’t align properly, leading to a lopsided or uneven ribbon.
* How to Avoid: Take your time with those first four base folds. Align corners and edges *perfectly* before making your crease. Use your fingernail or a bone folder (if you have one) to make your creases sharp and clean. Imagine the creases are the scaffolding for your ribbon – a wobbly scaffold leads to a wobbly structure.
* Over-Twisting or Uneven Twisting: Once you reach step 12, the temptation can be to twist too hard or too quickly, or to twist one part more than another. This can lead to tears in the paper or an inconsistent, messy-looking twist.
* How to Avoid: Be gentle and patient! Think of it as coaxing the paper into a spiral, not forcing it. Start with a very gentle twist and gradually increase the tension as you work your way along the length. If you feel resistance or hear a tearing sound, ease up. It’s better to have a slightly looser twist than to damage your paper. Try to maintain an even pressure and rotation throughout the entire length of the ribbon.
Unleashing Your Creativity: Variations to Explore
Once you’ve mastered the basic green twisted ribbon, don’t be afraid to experiment! Origami is all about personal expression.
* Size: As mentioned earlier, you can easily vary the size of your ribbon by starting with different sized squares of paper. Smaller squares will produce delicate, narrow ribbons, perfect for accenting smaller items. Larger squares will give you a more substantial, eye-catching ribbon.
* Paper Pattern: This is where you can really have fun! Try using paper with subtle patterns, like a delicate leaf motif, a soft texture, or even a gradient effect. A paper that fades from a lighter green to a darker green would look stunning as it twists. You could even try a patterned paper with a green background. The key is to ensure the pattern isn’t too busy, as it might detract from the elegant spiral of the twist.
* Color: While we’re focusing on green today, this technique works beautifully with any color! Imagine a vibrant red ribbon for holidays, a sunny yellow for spring, or a deep blue for a sophisticated touch. You could even make a rainbow of ribbons!
Showcasing Your Creation: Display and Gifting Ideas
Your finished twisted paper ribbon is a miniature work of art, and it deserves to be admired!
* Decorations: Gently curve and arrange several green ribbons together to create a beautiful centerpiece for a table. You can attach them to a wreath for a unique, eco-friendly decoration. They also look lovely strung together as a garland for a special occasion or to brighten up a bookshelf.
* Gift Toppers: Forget traditional bows! A twisted paper ribbon makes a unique and memorable gift topper for a present. It adds a personal, handcrafted touch that shows you’ve put extra thought into your gift.
* Craft Embellishments: These ribbons can be glued onto cards, scrapbooking pages, or even used to embellish journals. They add a lovely dimension and texture to any paper craft project.
* Mobiles: String together several ribbons of varying sizes and colors to create a whimsical mobile.
* Gifting: Present your finished ribbons in a small cellophane bag tied with a bit of twine, or nestled in a handmade origami box. They make wonderful small gifts for friends, family, or even as party favors.
I hope you’ve enjoyed creating this beautiful twisted paper ribbon with me. Remember to be patient with yourself, enjoy the process, and don’t hesitate to experiment. Happy folding!
Conclusion
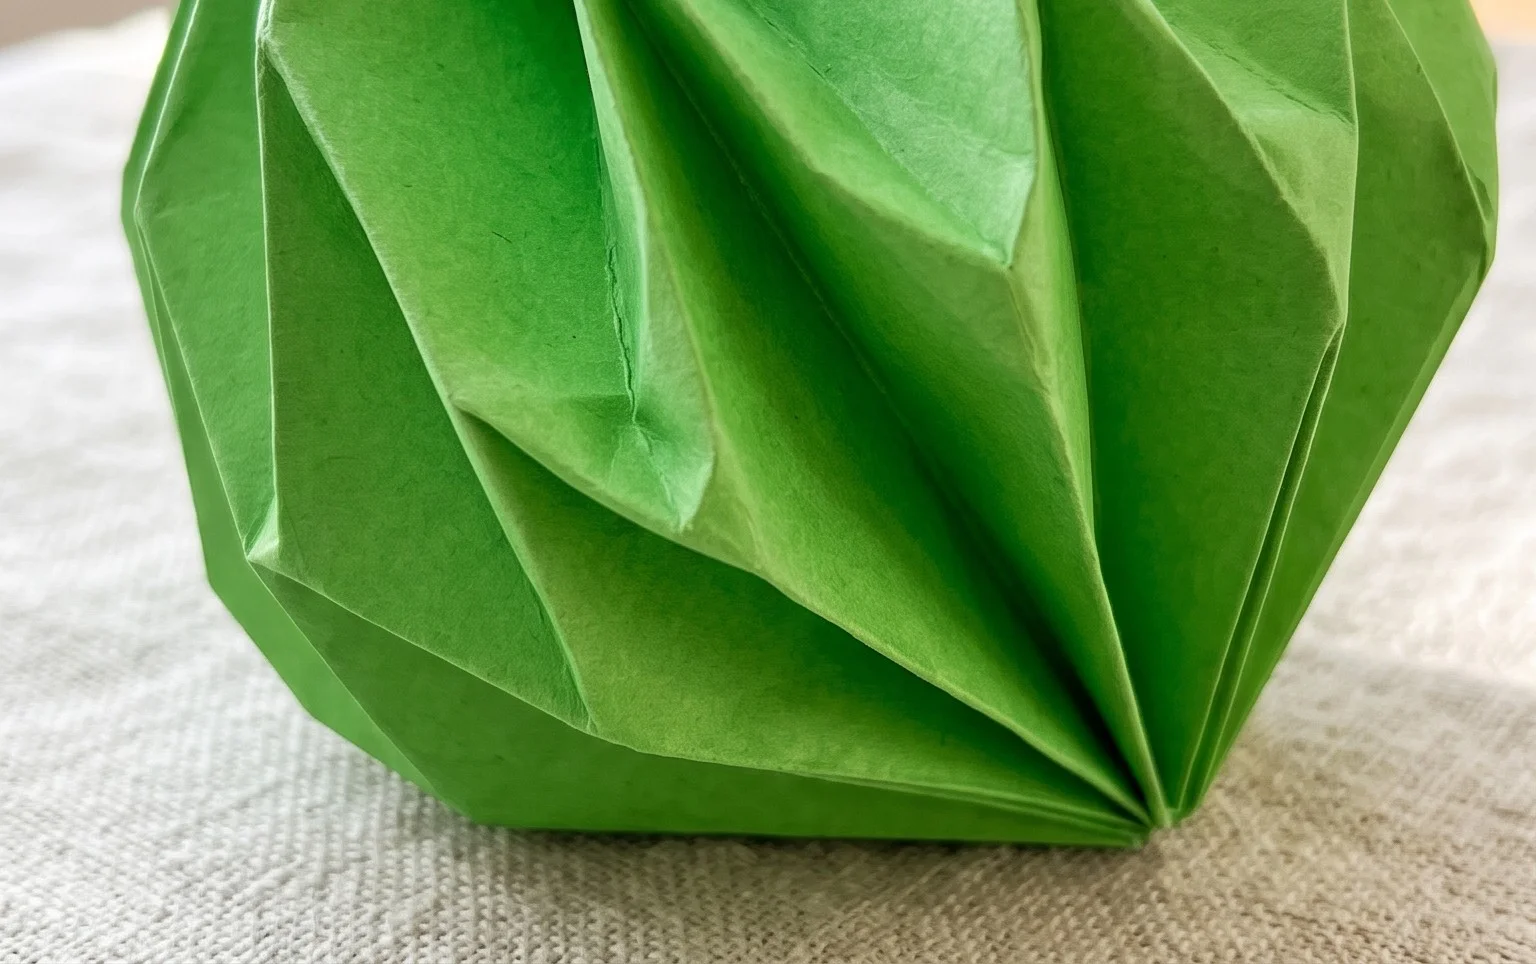
Congratulations on completing your beautiful Twisted Paper Ribbon! We hope you enjoyed the process of transforming a simple sheet of green paper into this elegant creation. Don’t worry if your first attempt isn’t perfect; every fold is a learning experience, and practice makes perfect. Feel free to share your stunning Twisted Paper Ribbon with friends or family – they’re sure to be impressed! For your next project, why not try this ribbon in a different color, or perhaps experiment with a wider strip of paper for a bolder look? We invite you to continue exploring the wonderful world of paper crafts and discover even more delightful projects to create.
